We are likely to use unnatural products for taking care of our goods. With old furniture, we’ll try to avoid using toxic products. There are benefits to having oak in your home, especially if it’s old. With age your oak becomes more and more attractive. If restoration is needed, you might have the ingredients to give it a natural finish.
With care, your antique furniture can last for many more decades. This is a look at both traditional and modern methods. So here are 7 ways we can naturally restore our beloved oak.
Why Should We Restore To Begin With?
There are a number of reasons we may want to bring our old pieces back to life. Spotting the problem is the first step into restoration. Look at your oak and see if anything sticks out to you. You don’t have to be an expert, as you’ll be able to tell if it needs repairs.
You’ll see visible water marks where drinks have been. Dents due to excessive handling. Noticeable cracks and splitting can bee seen. Or worse, tiny holes in a pattern can show traces of woodworm.
If the signs are obvious to you, it may be time to get the tools out and your hands dirty. This mini guide will show you non toxic ways to restoration.
Pre Requirements
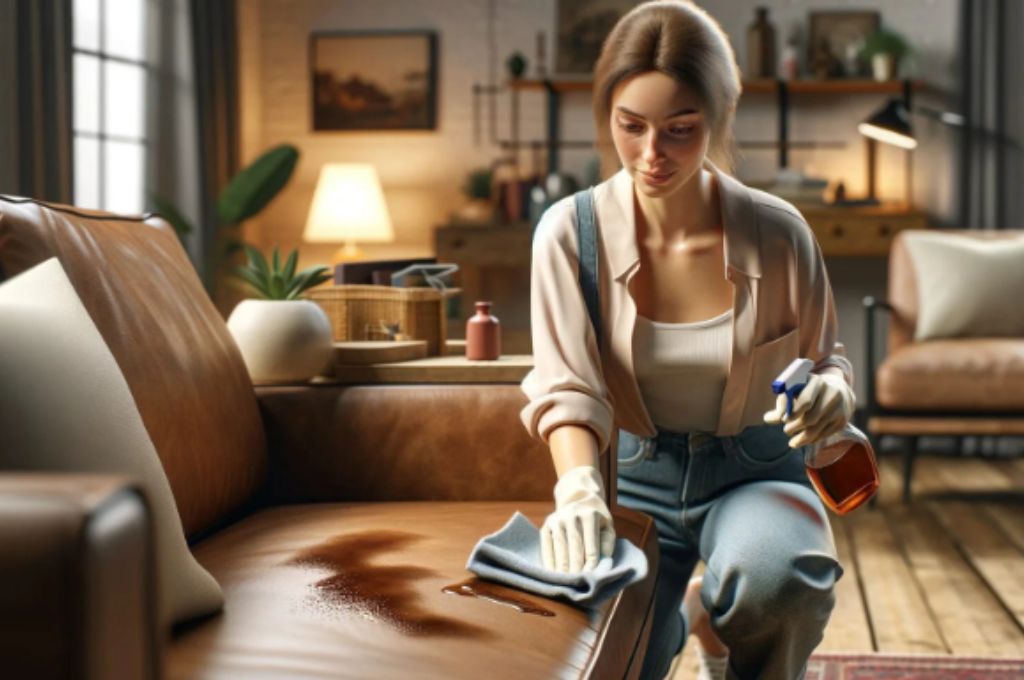
Before any polishing, we need to clean our oak from grime and debris. Standard cleaning products can contain harmful toxins that can damage your furniture.
Source Photo: Pixabay
Items
Here’s a list of items you may (or may not) have lying around your house. Mostly, these items are cheap and easy to obtain;
What you may have
- A bucket
- A sponge
- A cloth (microfiber)
- A jar
- An iron
- A towel
- Paint brushes
- Wire wool
- Red wine
What you may need to buy
- White vinegar
- Olive oil
- Lemon oil
- Coconut oil
- Bees wax
- Sand paper
- Canola oil
- Shellac
- Brushes
- Craft knife
Cleaning the oak
Start by taking a dry cloth to remove any debris from on the surface. Next, remove any stains by using a damp cloth to wipe down the surface. Oak naturally absorbs moisture which can cause staining. For tougher stains, lightly sand down with a fine paper by hand.
It’s key to remember to go with the grain while sanding.
What To Avoid Doing
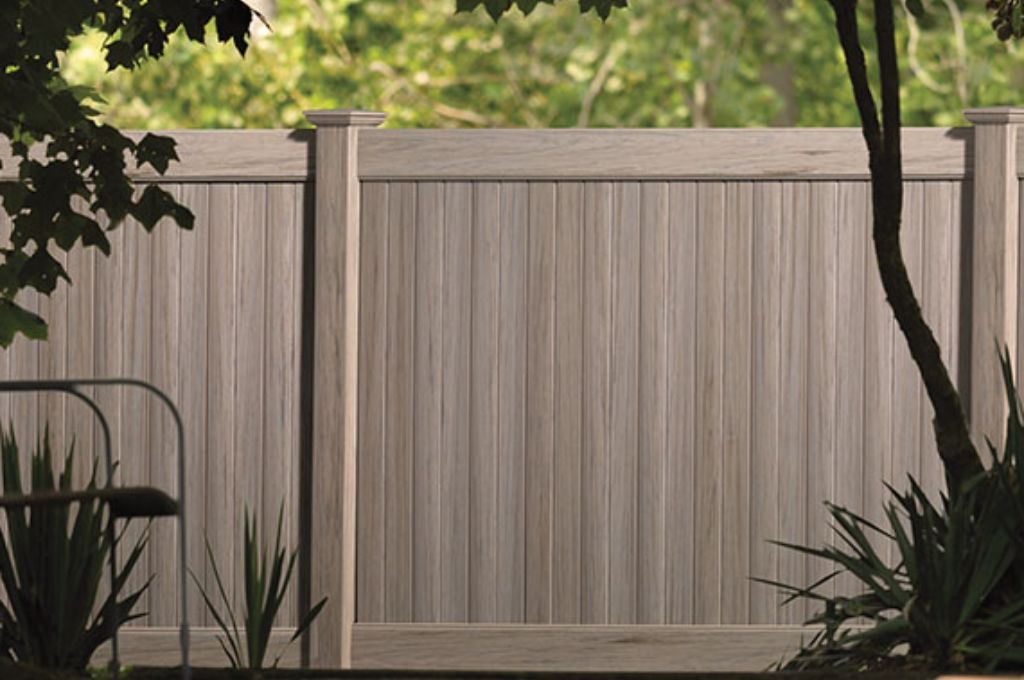
Storing old furniture should be kept out of direct sunlight. This includes anything that can produce intense heat. These can be your radiators, heaters, fireplaces, humidity and very hot food. As stated, large amounts of spillages are harmful.
Avoid placement of drinks or hot foods. Use table trays whenever necessary.
Also avoid using wire wool directly on the wood. This can blacken and cause major damage to the oak.
Natural Restoration Methods
Methods will go over oils, waxes, finishes, stains and basic repair. In no particular order, here is a list of effective tips to keeping your oak in top condition.
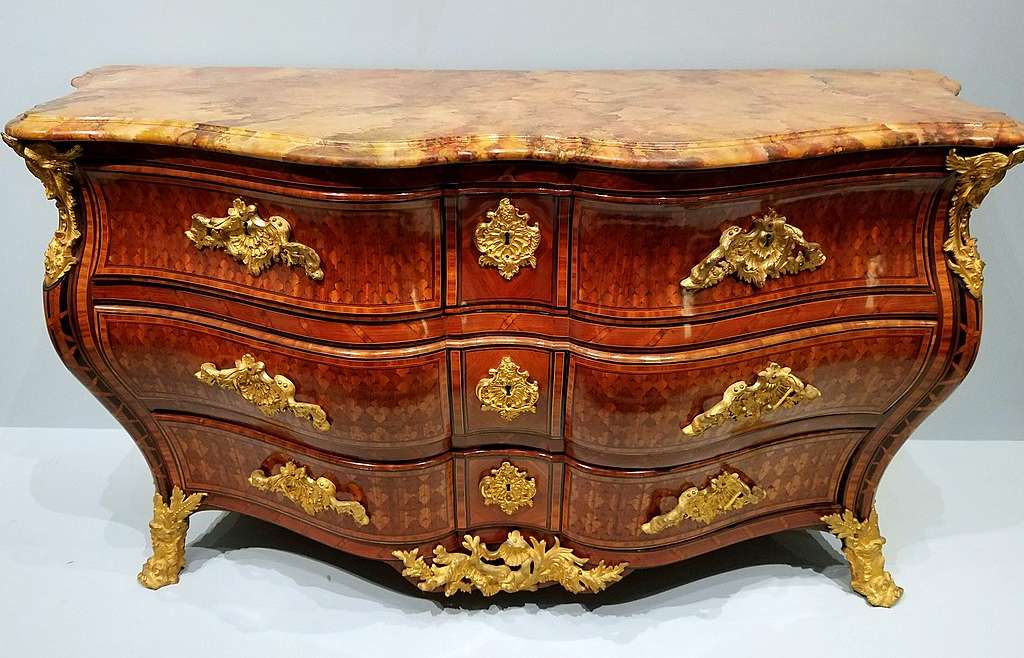
Structural Repair
Repairing broken wood is the first step to restoration. Ignoring these can cause further damage if not looked after. These can include, dents, dings, holes and more. Be sure these are taken care of before any finishing.
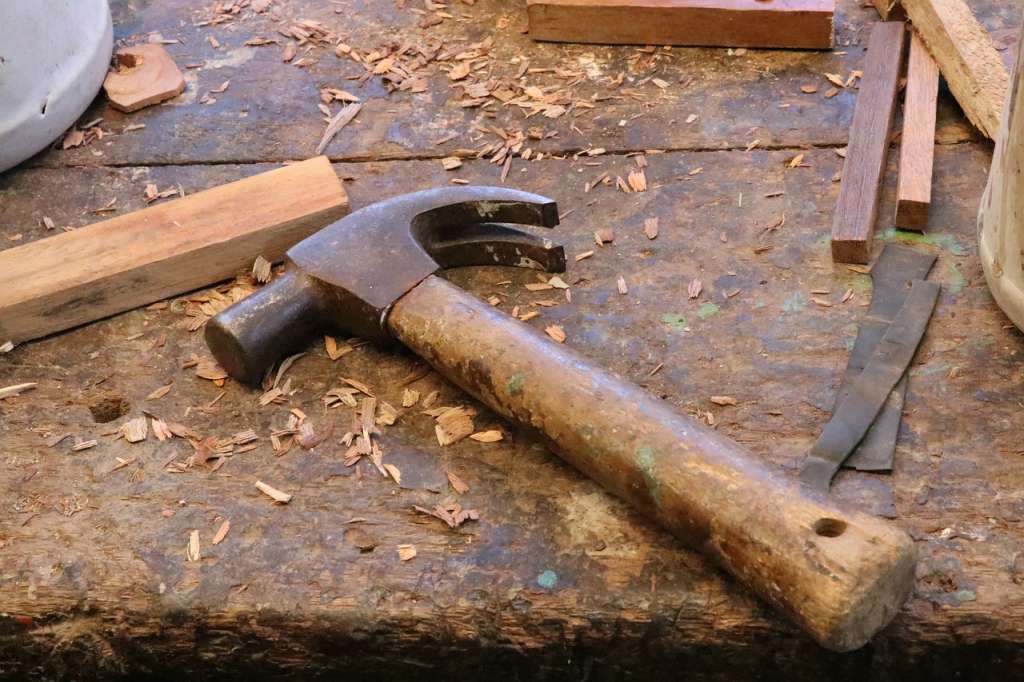
Source photo: Pixabay.com
Cracks
Cracks are the most common form of damage on old furniture. This can be easily sorted with non toxic ingredients. We’ll want to save money with our home made filler. What you will need; saw dust, clear shellac, container, disposable spoon and gloves.
- Add saw dust to the container
- Add in the clear shellac
- Saw dust can’t be too dry, shellac can’t be too wet
- Mixture should be in near ball form
- Pack the holes with the filler
- Once dry, sand it until surface is smooth
- Apply your finish of choice
Dent Removal For Tables
Here is a method that involves very minimal heat. But don’t worry, this will not damage your furniture. Be sure you follow these steps very carefully;
- Lightly remove any finish with sand paper
- Remember to go with the grain
- Turn on your iron until is fairly warm
- Dampen a towel. Be sure that it is NOT dripping wet
- Keep towel flat on the damaged surface
- Carefully iron over the towel.
- Add small amounts of moisture if needed
- When the dents vanish, give the oak time to dry properly
- When bone dry, use sandpaper over the area to level it out
- Apply the finish of your choosing
Dings
These are small chips in the finish, caused by sharp strikes. It won’t affect the structure but can be visibly noticeable. Use a craft knife to remove loose bits around the ding. Next you can use sandpaper to even out any spots. Clean the area with a damp cloth with lemon juice. Once dry add your finish of choosing.
Rot
Similar to cracks, you can use the saw dust and shellac mix. Rot can be very dangerous depending on the item. You may have to create a mold around the structure.
- Locate the rot to stop any more spreading of damage
- Begin by removing the rotted wood
- Use a screw driver or anything to chisel the wood
- Mold the mixture around the damaged area
- Depending on the damage size, dry for 30 minutes
- Level or shape the mixture with sandpaper
- Choose a stain to match surrounding wood
- Add your final finish of choice
The Oil Method
Oil is a natural protective finish for wood. This can also be add on over wood stains. They are not as heavy but provide a nice sheen finish.
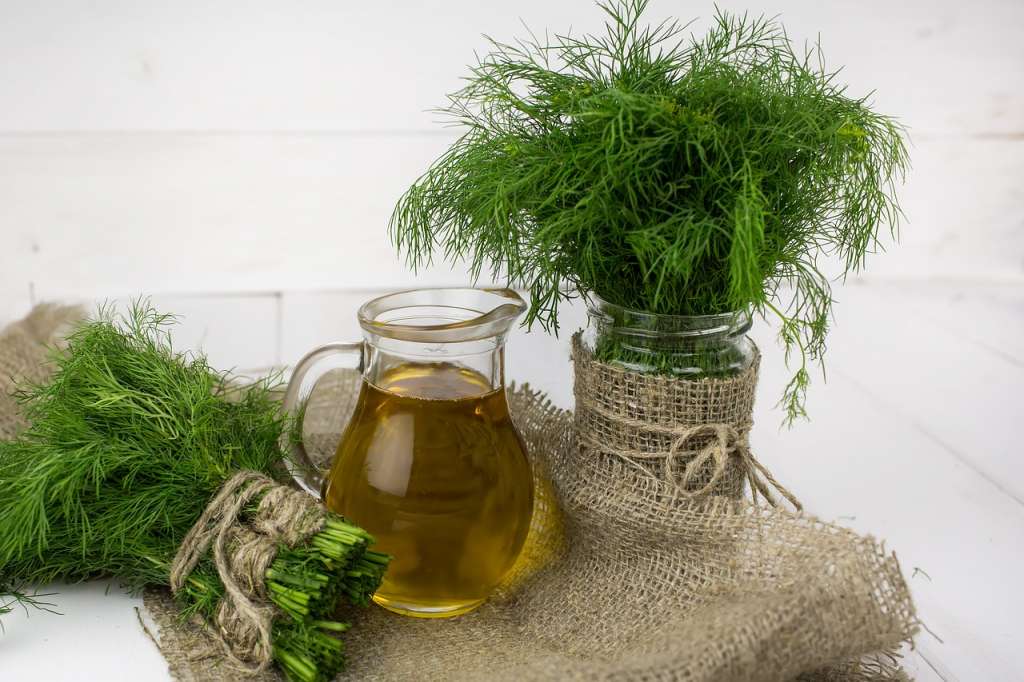
Source photo: Pixabay
Vinegar & Olive Oil
Mix the following in a jar or container then do the following;
- 1 Tablespoon of vinegar
- 3 Tablespoons of olive oil
- Stir well
- Use a cloth then dip into the jar
- Go with the grain whilst wiping down
Coconut Oil & Lemon Juice
Coconut oil is one of the most used ingredients in the DIY world. With wood, coconut oil and oak goes hand in hand. It’s a non toxic solution for giving your antique wood a dark, clean finish. With lemon juice, it adds a tangy aroma to your coat.
To clean your old surface;
- Dampen a cloth to get your surface moist
- Let the surface dry out after application
- Add coconut oil and lemon juice into a jar
- Stir well
- Get a dry clean cloth, using a thin coat of oil
- Let it site for 5 to 10 minutes
Canola oil method
Canola oil and vinegar provides a legitimate finish.
- Take 3/4 cup of canola oil
- Then 1/4 cup of vinegar
- Mix and rub into you oak
- This does not need wiping. Oak naturally absorbs the ingredients
Lineseed Oil
An oil made from flax seeds. This oil provides excellent protection for the wood. A single coat will give your wood a yellow tint colour. Avoid boiling this oil as it can turn into a solvent.
Shellac
Shellac is a resin secretion from the lac bug. The bug is found on trees of Thailand and and India. You can buy shellac flakes from shops.
- Clean your surface with a tac cloth
- Grab a clean, fine, china-bristle brush
- Cut a one or two pound worth of the flake
- Apply to your brush with long, smooth strokes
- Note that shellac dries quickly
Walnut Oil
A pricier option, this oil is easy to apply. Has a pleasant aroma with strong characteristics. Be aware for those who are allergic.
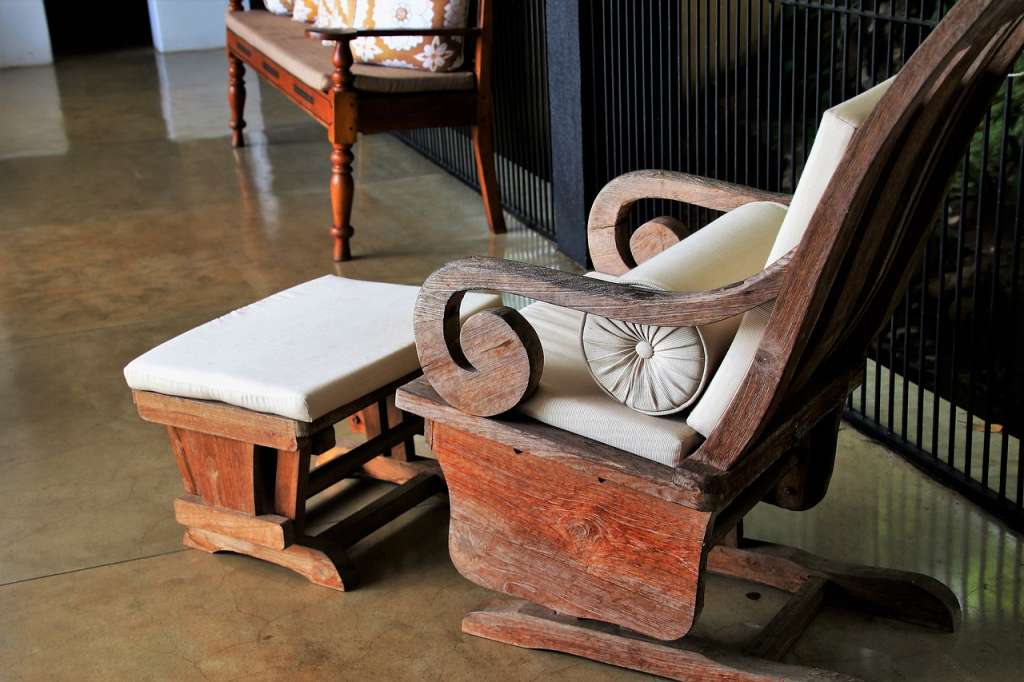
The Wax Method
There are many forms of waxes to curate our oak. They come in the form of oils, pastes and solid sticks. They all have varying colours and toughness. All waxes have varied skills like stopping the wood from turning grey. Also providing a protective film to stop any splitting.
All waxes have different ways of applying a finish. You can burn over a spoon from a stick. You can even apply using a paint brush. Most of these waxes are made naturally.
Source photo: Pixabay
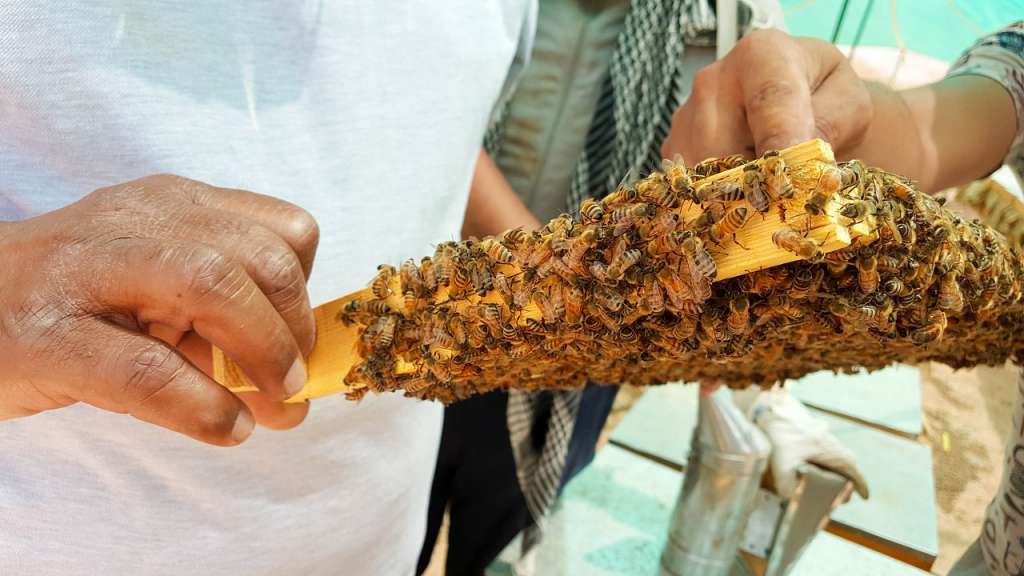
Beeswax
This form of wax is produces by honeycomb cells. It’s placed in hot water after extraction for sale. Beeswax takes up to 30 days to properly dry so best to pick the right finish. Like with most waxes this nourishes the wood.
Carnauba
This natural wax is made from the carnauba palm in Brazil. They’re produced straight from the palm’s leaves. It’s also known as the “Queen of waxes”. This wax works well with beeswax for a harder coat.
Myland’s Wax
A century old wax ideally made for restoration in mind. There are four available types and creates a lasting shine.
Zero VOC
This is a soft wax that is easy to add to brushes. It’s creamy texture makes it easy to spread. Zero VOC is a non toxic option for wax. It’s a blend of beeswax, walnut oil and the carnauba wax.
Wood Staining
Wood stains normally come in chemicals. There are ways around this toxic method. Staining has it’s benefits and unique roles. Let’s take a look at a few.

Photo source: Pixabay.com
Coffee
Coffee provides basic stains. For stronger strains see below.
- Simply make some strong coffee
- Let drink cool down
- Place cloth in drink
- Apply to the wood
- Check how dark it gets
- A few coats may be needed
- This is the same with tea
Balsamic Vinegar & Steel Wool Pad
This pair adds a cherry finish to the wood.
- 1 1/2 cup of the vinegar
- Steel wool pad
- Place both into a jar
- Leave sit for 24 hours
- Remove the wool
- Place vinegar into another jar
- Use a brush to add the finish
Red Wine
What will a staining list be without wine? Most will want to remove wine, we want to add it. You can say it’s a natural enemy of wood. This method relies on a few rounds of staining the wood. All depends how strong your wine is. This also adds a vibrant cherry finish to your wood.
- Get one cup of red wine
- One microfiber cloth
- Soak the cloth for 30 minutes
- Wipe and dab over surface
- Repeat for stronger results
Conclusion
As you can see there are many methods and combos to choose. Some will work better than others. Most will be pretty cheap to manage. All will take some time to perfect.
Chemicals are a dominating the market and our lives. So it’s no wonder the natural approach is popular.
Antiques require more care for a long lasting life. Resources can be saved greatly by taking an eco friendly route. If you have any ideas that are not listed, tell us your input. Or…
You are more than welcome to use our restoration services. Contact us and we will see what we can do for you.