Wondering why it’s essential to clean your plastering tools? Curious about the best tools to use and the step-by-step process for cleaning them?
In this comprehensive guide, we cover everything you need to know about cleaning and maintaining your plastering tools. From gathering the necessary supplies to avoiding common mistakes, we provide valuable tips and alternative methods to keep your tools in top condition.
Let’s learn how to properly care for your plastering tools!
Why Is It Important To Clean Plastering Tools?
Maintaining clean plastering tools is crucial for ensuring the quality of your work. Dirty tools can negatively impact the finish of your plaster, leading to imperfections and uneven surfaces.
When plastering, the tools are a craftsman’s extension, and the level of cleanliness directly affects the smoothness and durability of the application.
Residual plaster on tools can harden over time, making them less effective during subsequent use.
Regularly cleaning your tools not only ensures a professional outcome but also prolongs their lifespan. This maintenance routine prevents potential clogging and damage, saving you time and money in the long run.
By incorporating cleaning as a part of your plastering routine, you uphold efficiency and precision in your projects.
Take a look: How To Clean Plaster Off Floor
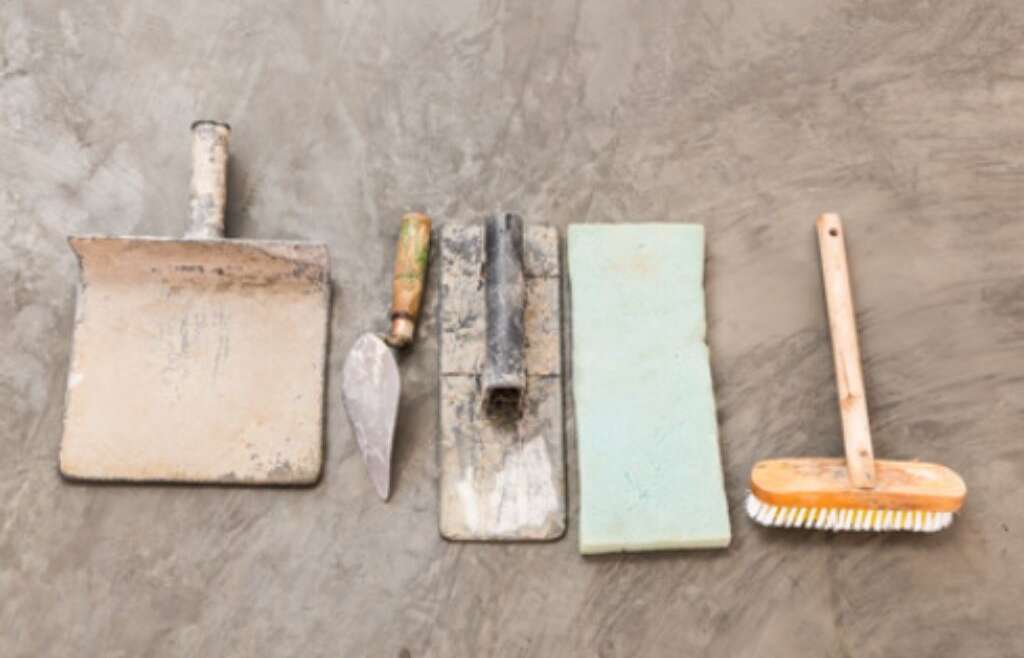
What Tools Do You Need To Clean Plastering Tools?
To clean plastering tools effectively, you will require specific supplies such as DAZ washing powder, suitable for removing tough plaster residue, and tools like trowels, plaster cornices, and cement boards.
Having a plastic bucket or container for soaking the tools in a mixture of water and detergent can help loosen the dried-on plaster.
- A soft-bristled brush or scrubbing pad is essential for scrubbing away the remaining debris without damaging the tools’ surfaces.
- Use a hose or a sink with running water to rinse off the cleaning solution thoroughly.
- After cleaning, ensure the tools are dried completely to prevent rust or corrosion.
Step-By-Step Guide To Cleaning Plastering Tools
Cleaning plastering tools requires a systematic approach to ensure thorough maintenance. It involves steps such as rustproofing, storing tools in a dry environment, using DAZ washing powder, and regular maintenance routines.
Begin by inspecting your tools for any signs of rust or residue buildup. Use a wire brush to remove any stubborn debris and rust spots, ensuring the surfaces are smooth. Then, wipe the tools with a damp cloth to clean off any remaining dirt.
Next, apply a rustproof solution or coating to protect your tools from corrosion. Make sure to let the rustproof product dry completely before storing the tools.
Store your clean and rustproofed tools in a cool, dry place to prevent moisture from causing damage or rust. Consider hanging them up or using a tool organizer to keep them neatly arranged.
For a deep clean, soak your tools in a mixture of warm water and DAZ washing powder. This powerful detergent can help break down hardened plaster and grime, leaving your tools looking like new.
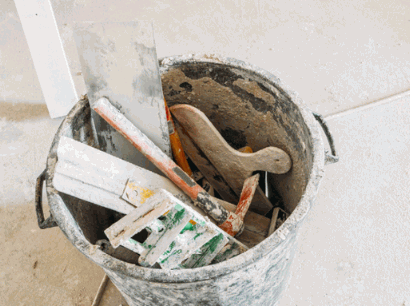
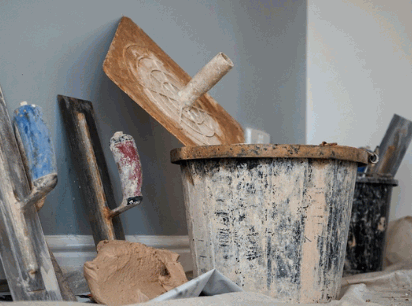
Gather Your Supplies
Before starting the cleaning process, gather all the necessary supplies such as BGC Bayswater building supplies, including items like plaster cornice and other essential tools for the task.
Having the right building supplies from BGC Bayswater is crucial as it ensures a smooth and efficient cleaning process of plastering tools. With specific tools like plaster cornice, it becomes easier to achieve a professional finish.
Efficiently gathering all the supplies beforehand saves time and eliminates disruptions during the cleaning task. By organizing materials in advance, you create a conducive work environment that enhances productivity.
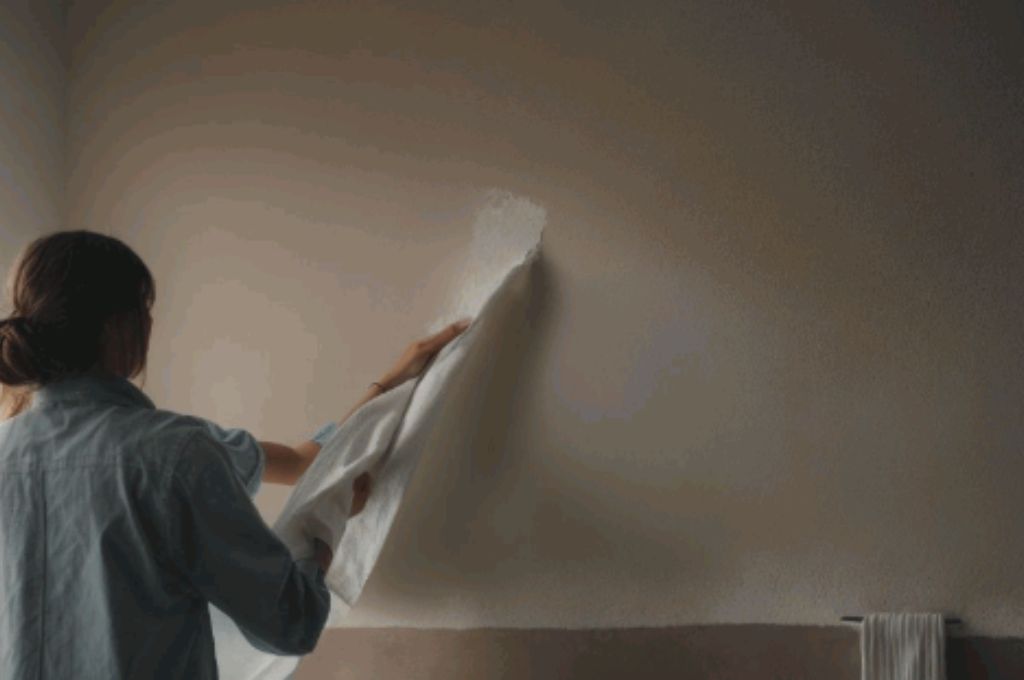
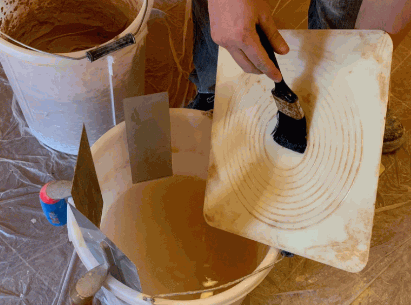
Remove Excess Plaster
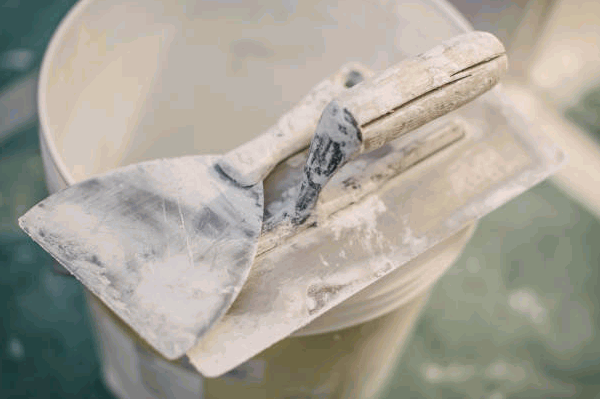
Begin the cleaning process by removing any excess plaster using tools such as trowels and scrapers. Focus on areas where plaster buildup is prominent, especially on surfaces like plaster cornices.
Once you have identified the areas with excessive plaster, it’s crucial to delicately scrape off the buildup without damaging the underlying surface. Carefully maneuver the trowel or scraper along the edges of the plaster cornice to ensure a thorough removal. Proper technique is vital here to prevent any chipping or scratches.
After scraping off the excess plaster, wipe down the tools with a damp cloth to remove any residue. This step is important to prevent the dried plaster from hardening and affecting the performance of your tools. It’s also advisable to periodically sharpen the edges of your trowels to maintain their effectiveness in the long run.
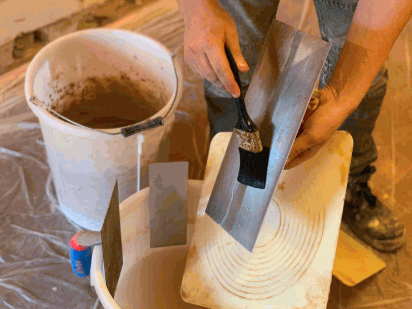
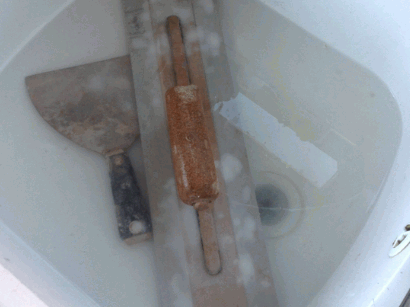
Soak Tools In Warm Water
After removing excess plaster, soak the tools in warm water mixed with DAZ washing powder to help loosen hardened residues.
During the soaking process, the warm water acts as a gentle catalyst, aiding the DAZ washing powder in breaking down stubborn residues. This combination ensures that even the toughest grime is efficiently lifted from the tools, leaving them sparkling clean and ready for their next use.
When in doubt about the proper dilution or application of DAZ washing powder, calling the provided number is a wise step. The experts there can provide valuable guidance on how to maximize the cleaning power of the powder, ensuring optimal results every time.
Scrub With A Brush
Use a brush to scrub the tools thoroughly, ensuring that all plaster residues are removed. Pay special attention to crevices and edges where plaster may be hard to reach.
It is crucial to maintain your plastering tools in top-notch condition for optimal performance. Start by using a stiff-bristled brush to remove any dried-on plaster.
Focus on working the brush into all the nooks and crannies of the tools, ensuring that no residue is left behind. Thorough cleaning is essential to prevent buildup that can affect the quality of your work.
Rinse With Clean Water
Once the scrubbing is complete, rinse the tools thoroughly with clean water to ensure all cleaning agents and plaster residues are removed. Pay extra attention to areas like trowel edges.
Thorough rinsing is crucial to ensure that the tools are free from any residual substances that might affect the quality of your future work. Cleaning agents, if left on the tools, can potentially interfere with the bonding of the new plaster or affect the finish of your project. So, by thoroughly rinsing the tools, especially focusing on delicate parts like the trowel edges, you are ensuring a clean and smooth surface for your next job.
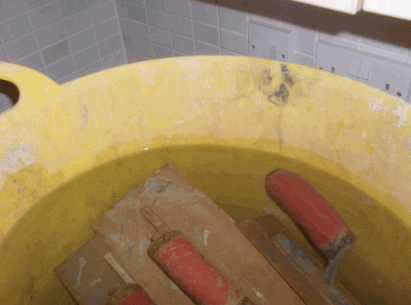
Dry And Oil Tools
After rinsing, dry the tools completely to prevent rusting. Consider applying a light coat of oil to keep the tools rustproof and store them in a dry environment to maintain their longevity.
Once the tools have been thoroughly cleaned and dried, it is essential to take the extra step of applying a thin layer of oil to each tool’s surface. This oil acts as a protective barrier, preventing moisture from coming into direct contact with the metal and forming rust. Before storage, ensure that the oil is evenly distributed over all parts of the tools.
When storing plastering tools, opt for a well-ventilated space away from any humidity or water sources. Consider using a toolbox or a designated area to keep them organized and safeguarded from environmental elements that could lead to corrosion.
How Often Should You Clean Plastering Tools?
It is recommended to clean your plastering tools after each use to maintain their condition and prevent the buildup of hardened plaster residues. Regular cleaning and maintenance will ensure the longevity and efficiency of your tools.
By incorporating a consistent cleaning routine, you can prevent the residue from hardening, which, if left unaddressed, can lead to decreased performance of your tools.
Proper maintenance not only prolongs the lifespan of your tools but also enhances the quality of your plasterwork, ensuring smoother finishes and reducing the risk of imperfections.
What Are Some Tips For Maintaining Plastering Tools?
To maintain one’s plastering tools effectively, it is advisable to store them in a rustproof container, ensure cleaning after every use, and apply a protective oil coating to prevent rust. Regular inspection of the tools for any signs of wear or damage is crucial.
Proper storage plays a vital role in preventing moisture exposure, which can lead to rust and corrosion. Consider investing in a designated toolbox or cabinet to keep your tools organized and protected from environmental elements.
When cleaning your tools, use a mild detergent and water to remove excess plaster buildup, then thoroughly dry them to prevent any moisture residue that might cause rusting.
Applying a protective oil coating, such as WD-40, after cleaning can help create a barrier against moisture and oxidation, prolonging the lifespan of your tools.
What Are Some Common Mistakes To Avoid When Cleaning Plastering Tools?
Avoid common mistakes like using harsh chemicals that can damage tool surfaces, neglecting to dry tools thoroughly after cleaning, and storing tools in damp environments. Overlooking regular maintenance can lead to premature tool wear.
Regarding selecting chemicals for cleaning plastering tools, ensure you opt for gentle solutions that won’t corrode or degrade the tools over time. After cleaning, remember to thoroughly dry each tool to prevent any moisture-related issues like rust formation. Storing tools in dry, well-ventilated areas is crucial to prevent any mold or mildew growth that can compromise their effectiveness.
To avoid the implications of neglecting maintenance routines, establish a regular schedule for inspecting and maintaining your tools. This proactive approach can help identify any wear and tear early on, allowing you to address issues promptly and extend the lifespan of your tools.
What Are Some Alternative Methods For Cleaning Plastering Tools?
Plus traditional cleaning methods, and alternative approaches like using vinegar, lemon juice, baking soda, and commercial cleaners can also be effective for removing plaster residues and maintaining the condition of your tools.
Regarding utilizing natural agents for cleaning plastering tools, vinegar is a versatile option known for its acidic properties that can break down tough residues. Similarly, lemon juice, with its citric acid content, can act as a solvent to dissolve stubborn build-ups. Pairing these with household staples like baking soda creates a powerful scrubbing paste that can tackle hardened debris effectively. Commercial cleaning solutions formulated specifically for plaster tools provide convenience and often offer specialized formulas that target plaster-related grime with ease.
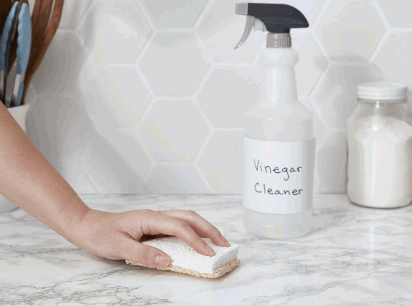
Using Vinegar
Vinegar is a natural cleaning agent that can help dissolve plaster residues on tools. Create a vinegar solution and soak the tools to break down hardened materials before scrubbing and rinsing.
To start the process, mix equal parts of water and white vinegar in a container large enough to submerge the plastering tools.
Allow the tools to soak in the solution for at least 30 minutes to let the vinegar’s acidity work on the residues. After soaking, use a brush or scrubbing pad to gently remove any softened particles from the tools.
Rinse the tools thoroughly with water to remove the loosened plaster debris. For stubborn residues, you can repeat the soaking and scrubbing process or use a more concentrated vinegar solution.
Once clean, dry the tools completely before storing them to prevent rust or corrosion.
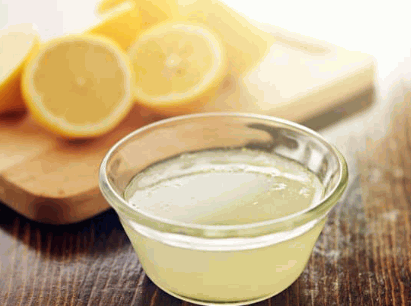
Using Lemon Juice
Lemon juice acts as a natural cleaner and can help remove plaster residues from tools. Apply lemon juice directly or create a solution to soak the tools before scrubbing and rinsing thoroughly.
When using lemon juice as a cleaning agent for plastering tools, start by squeezing fresh lemon juice onto the affected areas or submerging the tools in a mixture of lemon juice and water. Let the acidity of the lemon juice work its magic by loosening the stubborn plaster residues.
After allowing the juice to sit for a few minutes, grab a scrubbing brush or an abrasive pad and start scrubbing the tools. The citric acid in the lemon will help break down the dried plaster, making it easier to remove.
Once you’ve thoroughly scrubbed the tools, rinse them with water to wash away the loosened residues, revealing clean and refreshed surfaces ready for your next project.
Using Baking Soda
Baking soda can serve as a mild abrasive for cleaning plaster residues on tools.
To harness its gentle yet effective cleaning properties, create a paste by mixing baking soda with water in a small container. The abrasive nature of the baking soda helps in loosening dried plaster residue from the tools.
Next, apply the baking soda paste onto the affected areas of the tools using a sponge or cloth. Ensure that the paste covers the residues thoroughly for the best cleaning results.
Using a gentle scrubbing motion, work the paste into the stubborn areas on the tools. The mild abrasive action of the baking soda helps to dislodge the plaster particles without damaging the tool’s surface.
Using Commercial Cleaners
Commercial cleaners designed for removing tough residues can be effective in cleaning plastering tools. Follow the instructions provided with the cleaner for the best results in maintaining your tools.
One of the key benefits of using these specialized cleaning solutions is their ability to efficiently tackle stubborn residues that tend to accumulate on plastering tools over time. By incorporating a high-quality commercial cleaner into your maintenance routine, you can ensure that your tools remain in optimal condition, thus extending their lifespan and maintaining their performance.
When choosing a commercial cleaner for your plastering tools, it’s essential to consider the type of material the tools are made of to select a cleaner that is safe and effective. Following the manufacturer’s guidelines on application and usage will help maximize the cleaning efficiency of the product and protect your tools from any potential damage.