Have you ever wondered what exactly plaster is and why it’s used on floors? If you’re looking to remove plaster from your floors, you’ll need the right tools and supplies to get the job done effectively.
In this article, we will explore the different types of plaster, the tools, and supplies you need, and provide you with a step-by-step guide to help you clean plaster off your floors.
Discover some useful tips and tricks to make the process easier, and learn how to prevent plaster from sticking to your floors in the future.
What Is Plaster?
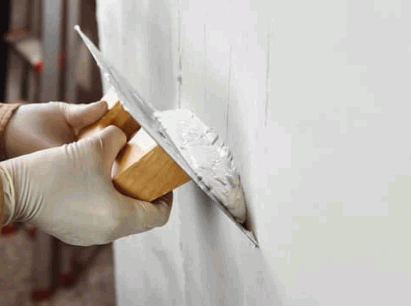
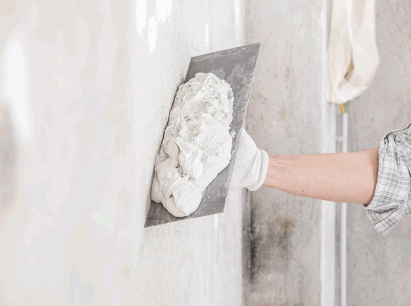
Plaster is a material used in construction for coating walls and ceilings. It is a mixture of gypsum, lime, sand, and water that dries to form a hard surface.
One of the key features of plaster is its versatility. Not only does it provide a smooth and durable finish to interior walls and ceilings, but it also acts as a protective layer against moisture and fire. Plastering is a skilled craft that involves applying the plaster mixture evenly onto surfaces using specialized tools like trowels and floats. Once applied, the plaster gradually dries and hardens, creating a sturdy and long-lasting surface. The curing process may vary depending on factors like temperature and humidity, but typically takes a few days to complete.
Gain insights: How To Clean Walls After Plastering
Types Of Plaster
There are several types of plaster used in construction, including gypsum plaster, lime plaster, and cement plaster, each with its unique properties and applications.
Gypsum plaster, known for its versatility and ease of application, consists of hydrated calcium sulfate. It provides excellent fire resistance and is commonly used for interior walls and ceilings.
Lime plaster, made from a mixture of sand, water, and lime, offers high breathability and is suitable for historic buildings and frescoes.
Cement plaster, a blend of cement, sand, and water, is durable and ideal for external surfaces such as facades and masonry repairs.
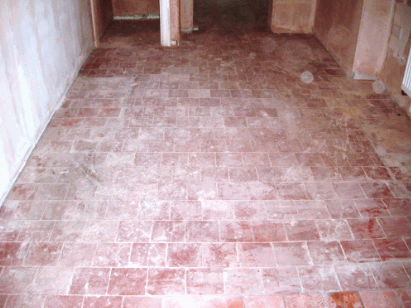
Why Is Plaster Used On Floors?
Plaster is used on floors to create a smooth and durable surface that can be painted or finished with various materials. It helps to level uneven floors and provides a solid base for further flooring treatments.
One of the key benefits of using plaster on floors is its ability to enhance the overall aesthetics of a space. The smooth and polished finish achieved with plaster can significantly elevate the visual appeal of a room, giving it a clean and modern look. Plaster is a durable material that can withstand heavy foot traffic and everyday wear and tear, making it a long-lasting flooring solution.
What Tools And Supplies Do You Need?
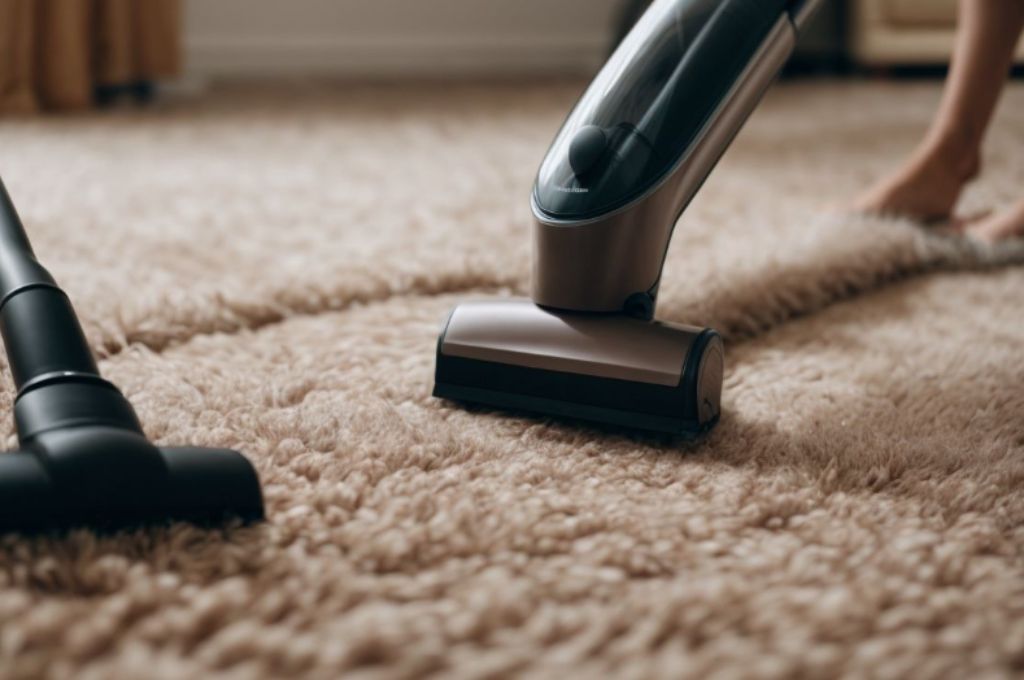
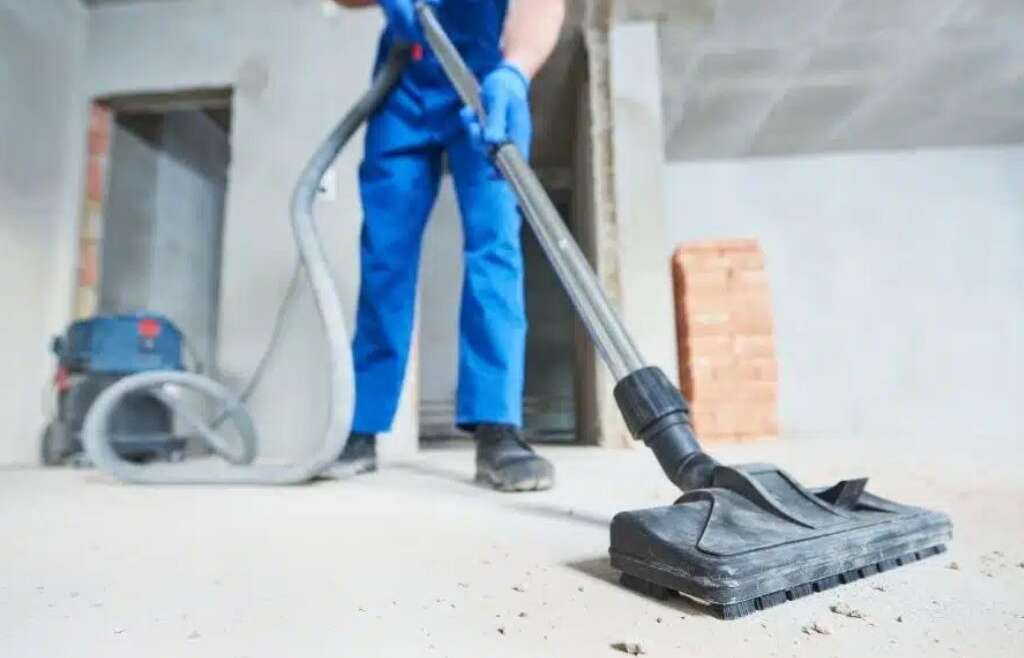
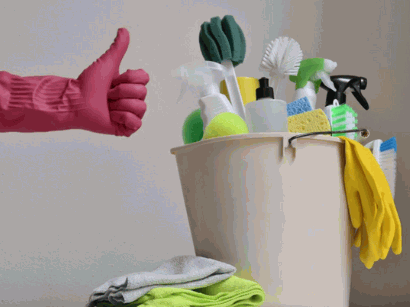
To remove plaster from floors, you will need a putty knife, protective gear such as gloves and goggles, cleaning tools like a cloth, and cleaning solutions such as vinegar or baking soda.
Plus these essential items, having a heavy-duty vacuum cleaner can help in efficiently cleaning up the debris. It’s also advisable to use a bucket for mixing cleaning solutions and disposing of waste materials properly.
Furthermore, a sturdy pair of work boots can protect your feet during the process, and a dust mask or respirator is crucial to prevent inhaling harmful particles. Having a tarp or drop cloth to cover surrounding areas can aid in keeping the workspace clean.
Protective Gear
When working with plaster, it is essential to wear protective gear such as gloves, goggles, and a mask to prevent skin irritation and inhalation of dust particles.
Gloves are crucial to shield your hands from direct contact with the abrasive material, which can lead to skin irritation or burns.
Goggles are equally important as they safeguard your eyes from any accidental splashes or airborne particles that can cause irritation or injury.
Wearing a mask is imperative to protect your respiratory system from inhaling fine dust particles that may lead to respiratory issues.
By utilizing this protective gear, you significantly reduce the potential health risks associated with plasterwork.

Cleaning Tools
Cleaning tools such as a putty knife, cloth, and scrub brush are essential for effectively removing plaster residue from floors without damaging the surface.
Each of these tools plays a crucial role in the plaster removal process. The putty knife is perfect for scraping away larger chunks of dried plaster, while the cloth can be utilized to wipe down surfaces and pick up finer particles. A scrub brush comes in handy for more stubborn spots that require a bit of elbow grease. To ensure efficient cleaning, it’s important to use these tools in a systematic manner. Start by removing the bulk of the plaster with the putty knife, followed by wiping down the area with a damp cloth, and finally, using the scrub brush for any remaining residue.
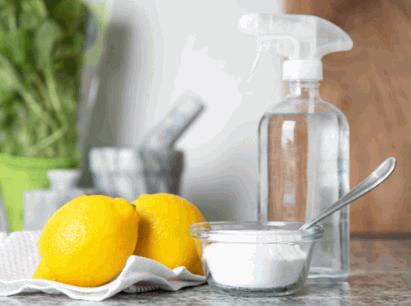
Cleaning Solutions
Cleaning solutions like vinegar, baking soda, or a mixture of warm water and fairy liquid can help break down dried plaster residue and make it easier to remove from floors.
Using vinegar is especially effective due to its acidity, which helps dissolve the plaster particles without damaging the surface beneath. Baking soda, on the other hand, acts as a gentle abrasive that aids in lifting off stubborn residue. Mixing warm water with fairy liquid creates a soapy solution that helps to loosen the debris from the floor, making it easier to scrub away.
Remember to test the cleaning solution on a small inconspicuous area first to ensure compatibility with your flooring material. Always wear gloves and protective eyewear when handling cleaning chemicals to prevent skin irritation or eye damage.
Step-By-Step Guide To Removing Plaster From Floors
Removing plaster from floors requires a systematic approach. Follow these steps to effectively clean the floor surface from plaster residue.
To begin, gather the necessary supplies such as a floor scraper or putty knife, a bucket of warm water, a sponge, and a cleaning solution suitable for your flooring type.
Prepare the area by covering nearby furniture and walls to protect them from dust and debris. Carefully scrape off the dried plaster using the scraper, being cautious not to damage the floor underneath. Next, dampen a sponge with the cleaning solution and gently wipe the remaining residue, periodically rinsing the sponge in the bucket of warm water.
Repeat this process until the floor is clean, then allow it to air dry completely. To finish, apply a floor sealant to protect the newly cleaned surface from any lasting damage.
Step 1: Prepare The Area
Before starting the cleaning process, make sure to clear the area of any furniture or obstacles to have a clear working space for removing plaster from the floors.
Ensuring a clutter-free environment not only facilitates the plaster removal task but also minimizes the risk of accidents or damage to the furniture. Moving furniture also allows access to all areas where plaster may need to be cleaned, ensuring a thorough job.
- Proper ventilation is crucial during the cleaning process as it helps dissipate dust particles and fumes, creating a healthier and safer environment for anyone working in the space. Opening windows and using fans can aid in maintaining good air circulation.
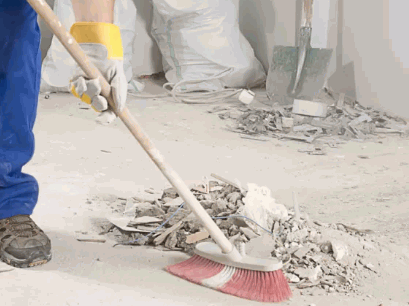
Step 2: Remove Loose Debris
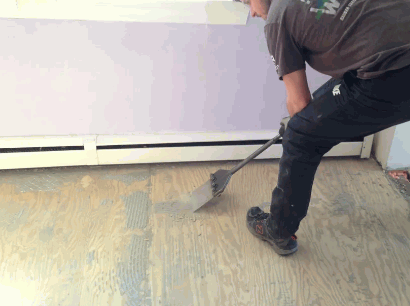
Use a putty knife or scraper to gently remove any loose plaster debris from the floor surface, ensuring not to scratch or damage the underlying material.
Start by carefully inspecting the floor area for any loose plaster pieces that need removal. Once identified, hold the putty knife at a slight angle to the floor and delicately scrape off the debris, being cautious not to apply too much pressure. Patience is key to preventing any unintended damage to the surface.
Work methodically across the floor, paying attention to corners and edges where debris can accumulate. Remember, a gentle touch is more effective than force when it comes to this task.
Step 3: Apply Cleaning Solution
After clearing the loose debris, apply a suitable cleaning solution such as vinegar or baking soda to the plaster residue and let it sit for a few minutes to soften the material.
Allowing the cleansing agent to seep into the plaster residue is crucial for effective removal. The solution works by breaking down the bonds between the debris and the surface, making it easier to scrub off. This process may require a bit of patience, but the results are worth it.
Once the residue has been properly soaked, use a gentle scrubbing pad or brush to work on the softened material. The combination of the cleaning solution and physical agitation ensures thorough cleaning without damaging the underlying surface.
Step 4: Scrub The Area
Using a scrub brush or cloth, gently scrub the area where the plaster residue is located, applying moderate pressure to remove the softened material without damaging the floor surface.
It is crucial to follow a systematic approach during the scrubbing process to ensure that all traces of plaster residue are effectively eliminated. Begin by dampening the cloth or brush with warm water to help loosen the residue, making it easier to scrub away.
Pay attention to any stubborn spots that may require a bit more effort, but always be cautious not to apply excessive force that could harm the flooring beneath. By employing gentle yet deliberate movements, you can achieve a thorough cleaning and restore the floor’s original appearance.
Step 5: Rinse And Dry The Floor
Once the plaster residue is removed, rinse the floor with clean water to remove any remaining cleaning solution traces. Dry the floor thoroughly with a clean cloth to prevent water damage.
After completing the rinsing process, it’s important to make sure that the floor is completely dry. Take your time and ensure that all areas are dried properly, paying extra attention to corners and edges where water might collect. This step is crucial in preparing the floor for the next stage of restoration or treatment.
Tips And Tricks For Cleaning Plaster Off Floors
Here are some helpful tips and tricks for effectively cleaning plaster off floors and maintaining the floor’s integrity during the cleaning process.
When removing plaster from floors, it’s essential to start by protecting the surrounding areas with drop cloths to prevent further mess.
- Wearing protective gear, including gloves and safety goggles, is crucial to avoid any injuries.
- Using a putty knife or scraper to carefully lift off the hardened plaster can make the cleaning process more manageable.
- Another useful tip is to apply a mixture of warm water and vinegar on stubborn plaster spots to soften the residue before further scraping.
Preventing Plaster From Sticking To Floors In The Future
To prevent plaster from sticking to floors in the future, consider using floor protectors, regular cleaning routines, and immediate removal of any spilled plaster to maintain floor cleanliness.
Another preventive strategy to avoid plaster residue buildup on floors is to create designated work areas with protective coverings to contain the mess. This can help confine the plastering activities to specific zones, minimizing the spread of debris.
Implementing regular inspections for any cracks or leaks in the ceiling or walls can preemptively address potential sources of plaster spills. By detecting and fixing these issues early on, you can reduce the chances of plaster making its way onto the floors.